

Build and Deploying Resume using Latex


Latex is a programing language to build your resume. If you are a developer and still using the infamous Wedding Card resume then you are missing out on a lot. In this blog, I will guide you on how to build your resume using Latex. I will also guide you on how to deploy your resume using GitHub Pages.
What this blog is not about?
This blog is not a tutorial on Latex. this will not make you a Latex Pro
This blog is not covering what to include/exclude in your resume or in general how to write a resume.
If you are someone who likes colours and fancy stuff in your resume then this blog is not for you. (but believe me, Plain and simple resumes can be eye catching too!)
What is Latex?
According to Wikipedia
LaTeX is a software system for typesetting documents. LaTeX markup describes the content and layout of the document, as opposed to the formatted text found in WYSIWYG word processors like Microsoft Word, LibreOffice Writer and Apple Pages
Consider Latex as a programming language for documents. It is very popular among researchers and scientists. One question that might come to your mind is why learn a whole new language to build a resume? Well, To that honestly I would say that it is not necessary to learn Latex to build a resume. Just use a template and you are good to go.
PS. I also don't know much about Latex but i can still build a resume using it.
What are the prerequisites?
VS Code or Overleaf You need a text editor to write your Latex code. I will be using VS Code in this blog. You can also use Overleaf which is an online Latex editor.
GitHub Account You need a GitHub account to deploy your resume.
Google Account (Optional) if you want to show your resume in google search results.
Step 1: Find a Latex Template

The first step is to find a Latex template for your resume. You can find many templates on Overleaf or Latex Templates. You can also find more templates online. Just search for Latex Resume Template on GitHub or Google.
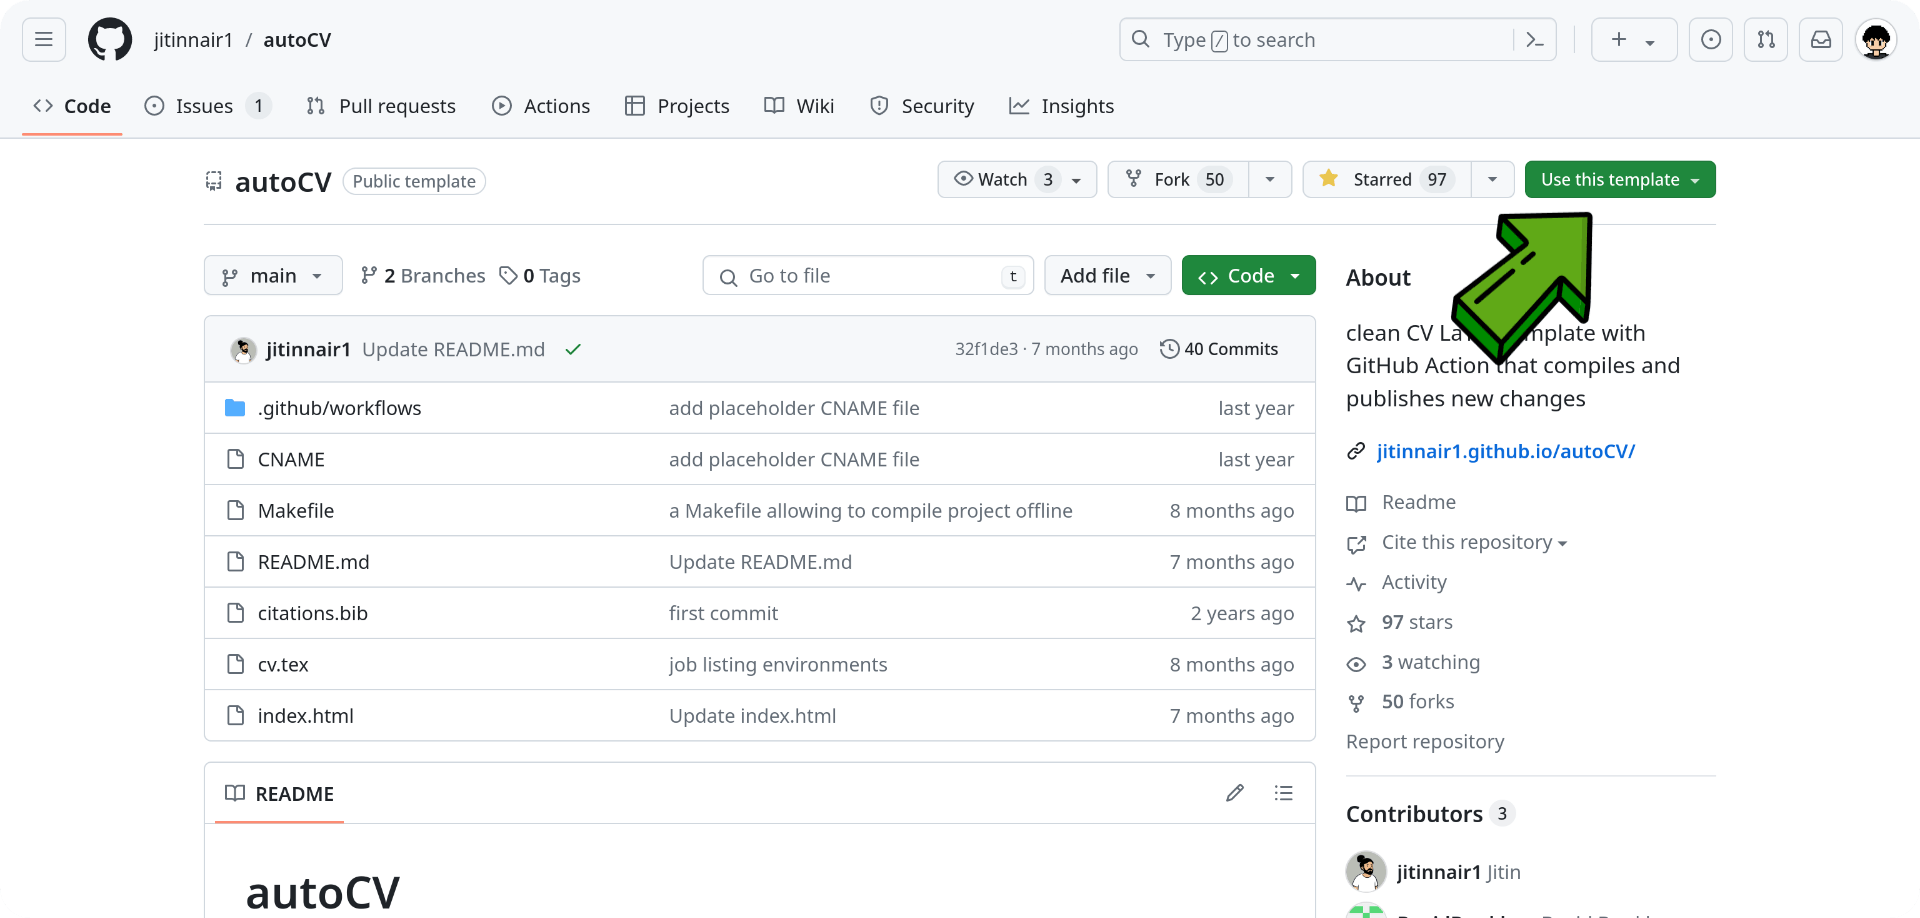
If you are really confused then you can use the template that I am using. You can find the template here.
Step 2: Setup a GitHub Repository
Create a GitHub account if you don't have one. Then use this tampalet to create a new repository. by clicking on the Use this template button.
After setting up the repository, you have two options either setup your local machine with Latex or use Overleaf. I will be using VS Code in this blog. but if you don't want to and use Overleaf then you can skip the next step and simply copy the code from overleaf to cv.tex file in your repository.
Step 3: Setup your VS Code for Latex
If you are someone who rarely updates their resume then you can skip this step and use Overleaf. because setting up Latex can be a bit tricky. But if you are someone who updates their resume frequently then you should setup your local machine for Latex.
Installing Latex on Local Machine
We need a package called texlive and pdflatex to compile our Latex code. You can install it using the following command.
Debian/Ubuntu sudo apt-get install texlive-latex-recommended texlive-extra-utils
Fedora sudo dnf install texlive-scheme-minimal texlive-collection-latex texlive-collection-latexrecommended
Arch sudo pacman -S texlive-core texlive-latexextra
Windows/Mac see https://www.tug.org/texlive/doc/texlive-en/texlive-en.html#x1-140003
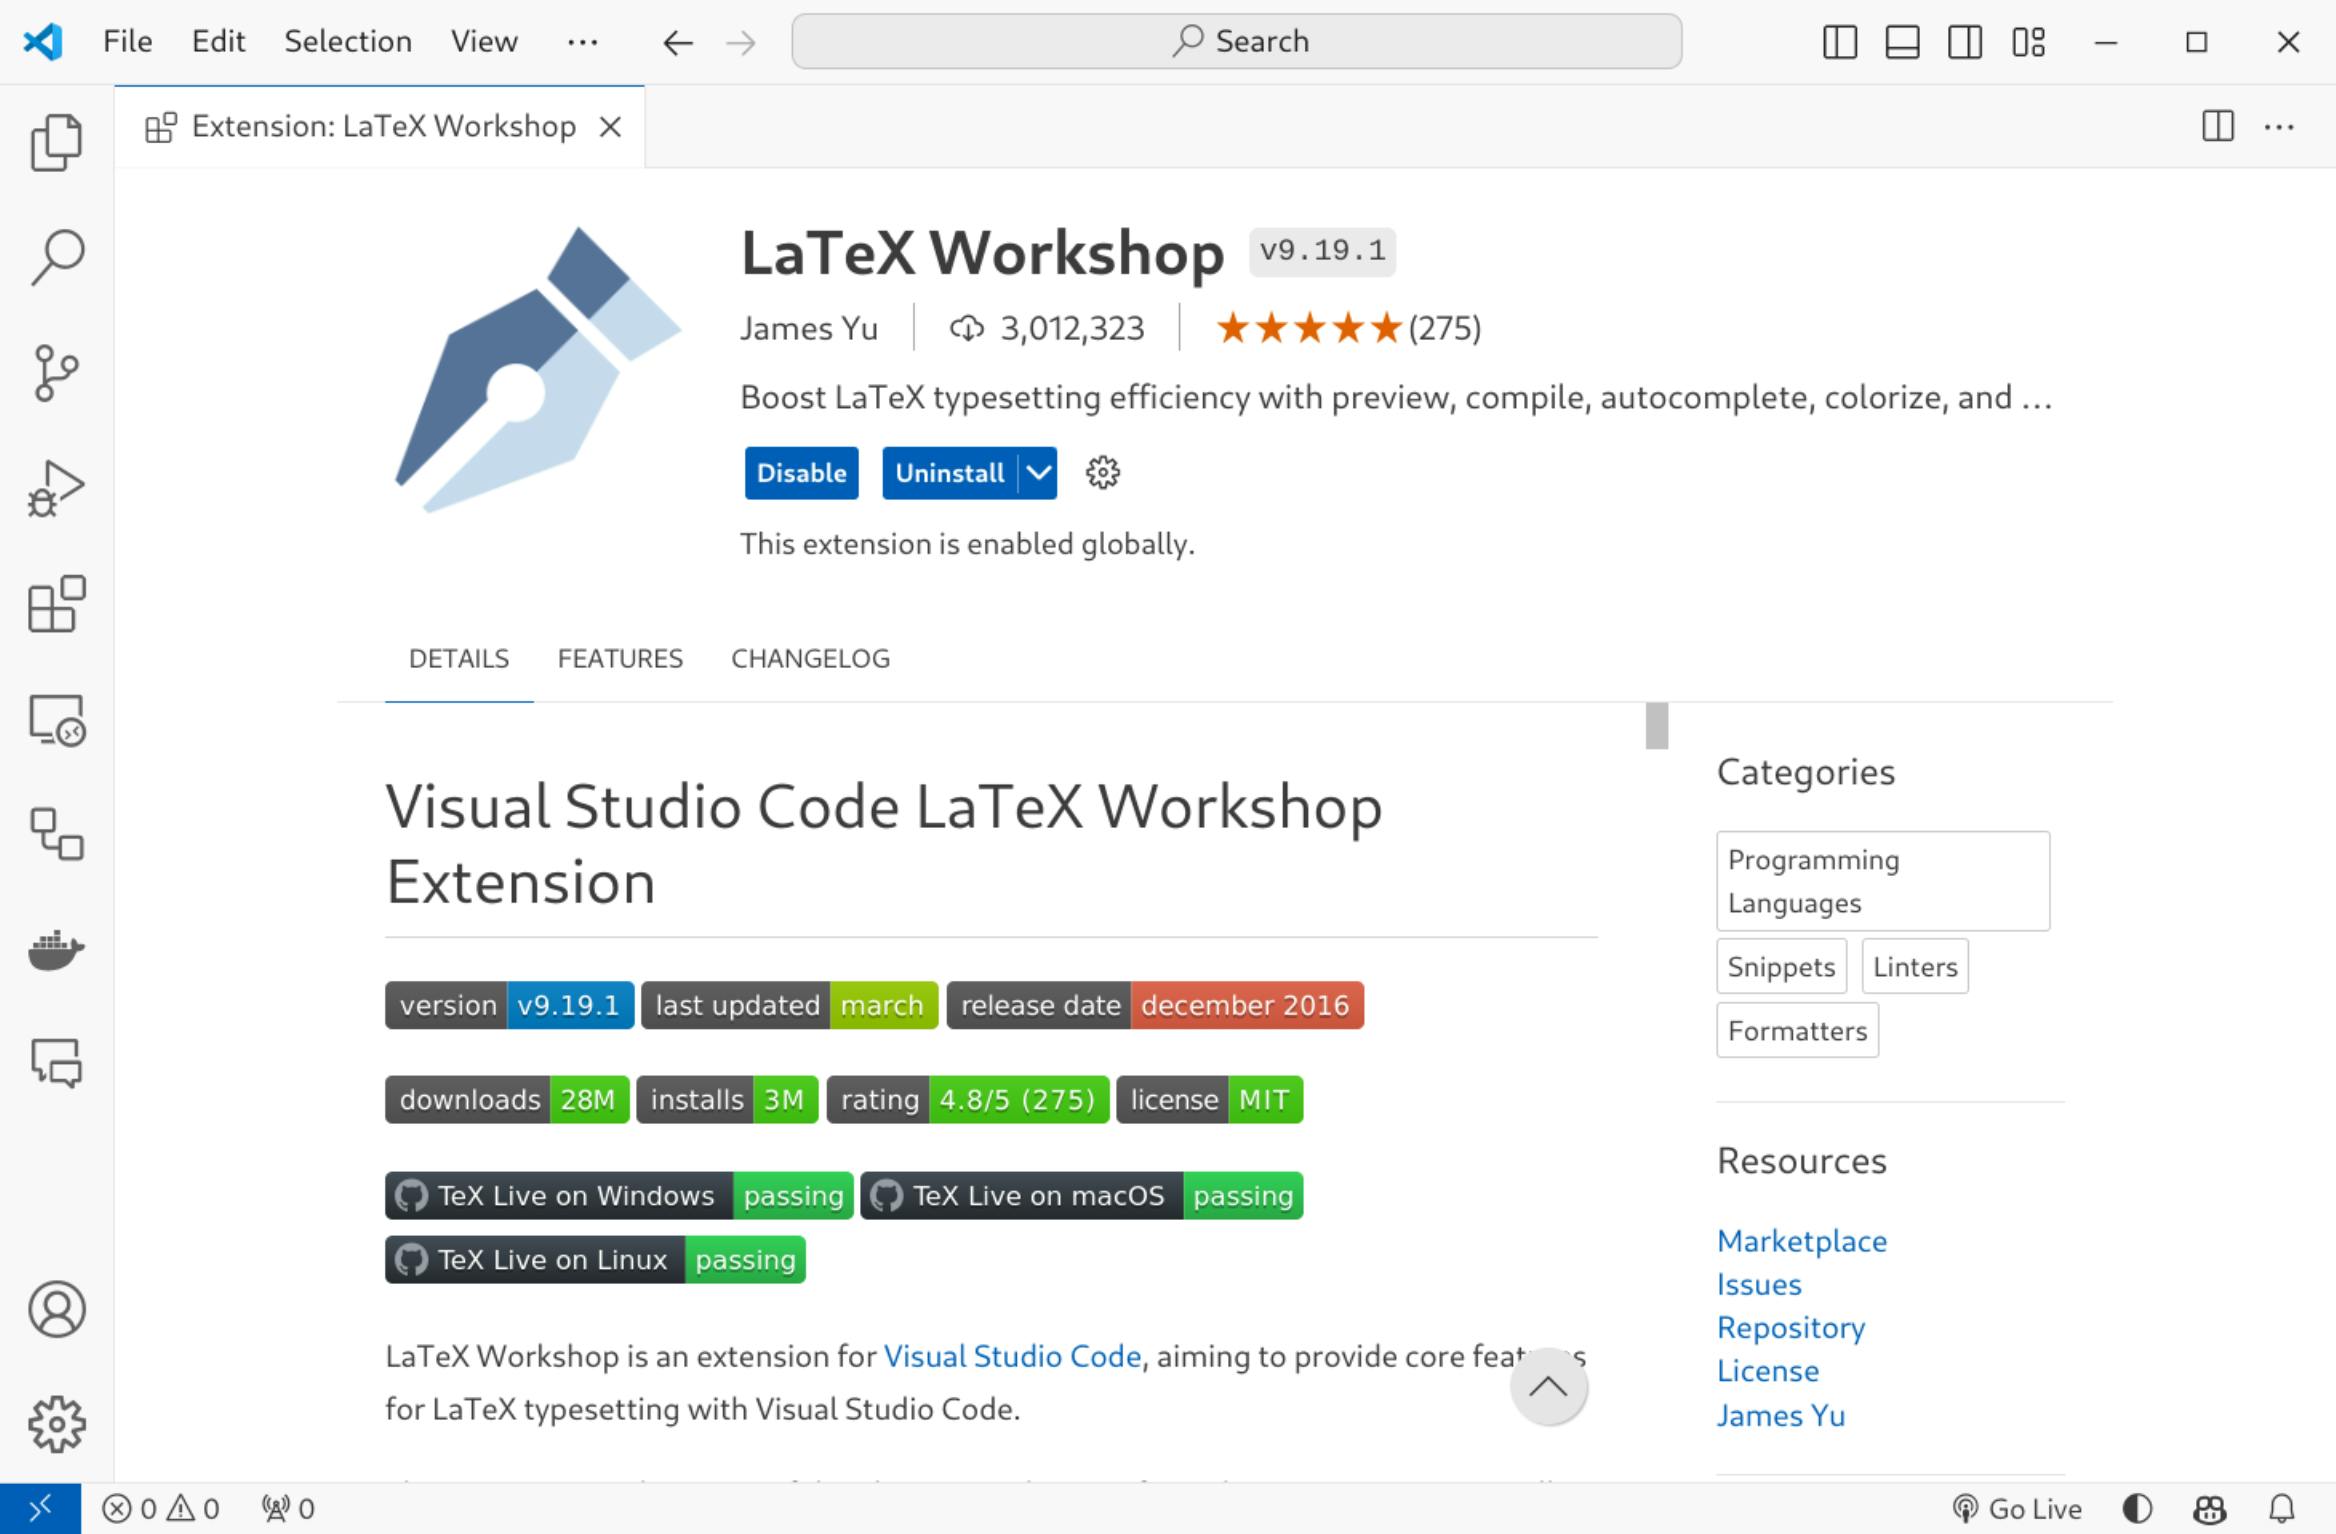
Install VS Code Extension
Open VS Code and search for Latex Workshop extension and install it. Alternatively, you can install it from here or simply paste the following link in your browser. vscode:extension/James-Yu.latex-workshop
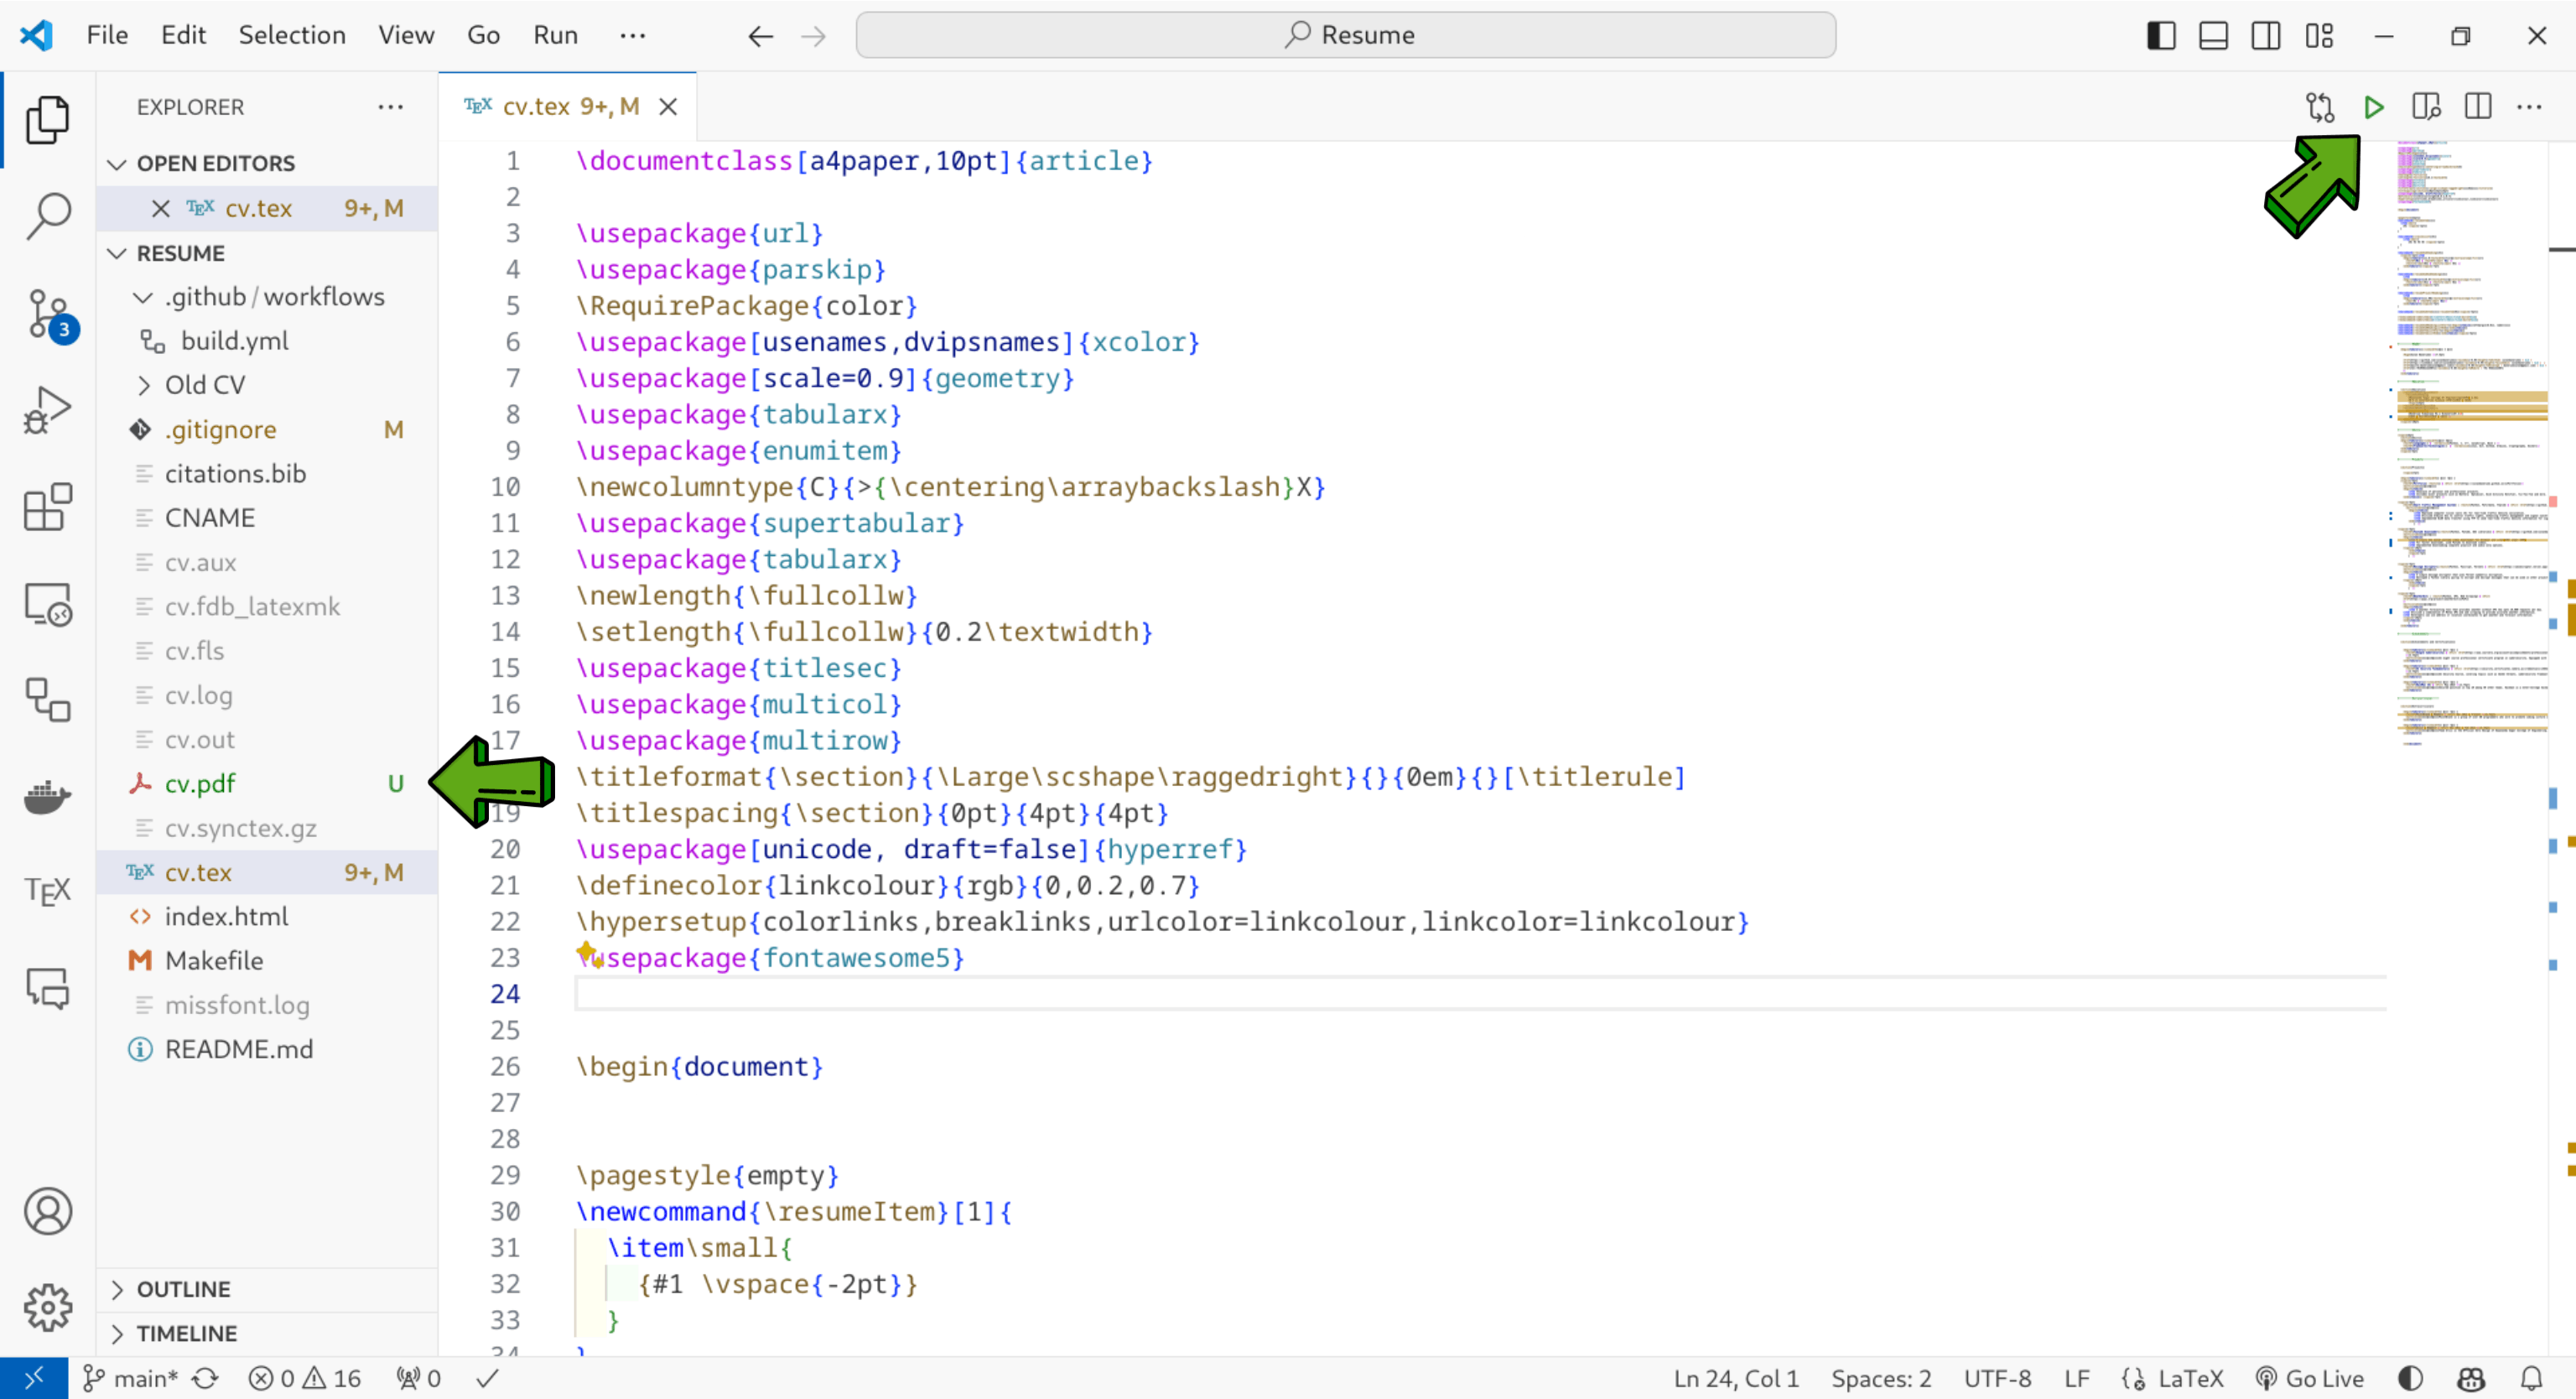
Editing and Deploying your Resume
Clone your template repository to your local machine. then open the cv.tex file in your VS Code. You should be able to see a small green play button on the top right corner of your screen. Click on it to compile your Latex code. If everything goes well then you should see a pdf file generated in the same directory named cv.pdf.
You now can open you resume in split view and it should appear like this

after that you can commit and push your changes to your repository and your resume will be live at https://<your-username>.github.io/<repository-name>/cv.pdf
Step 4 : Make it appear in Google Search Results
Go to Google Search Console and login with your google account. and choose URL prefix

Here enter you Resume link (i.e. https://<your-username>.github.io/<repository-name>/cv.pdf )

Then choose HTML tag and copy the meta tag.
The HTML file is saved in the build branch of your repository. you can switch to the build branch using the git checkout build command.
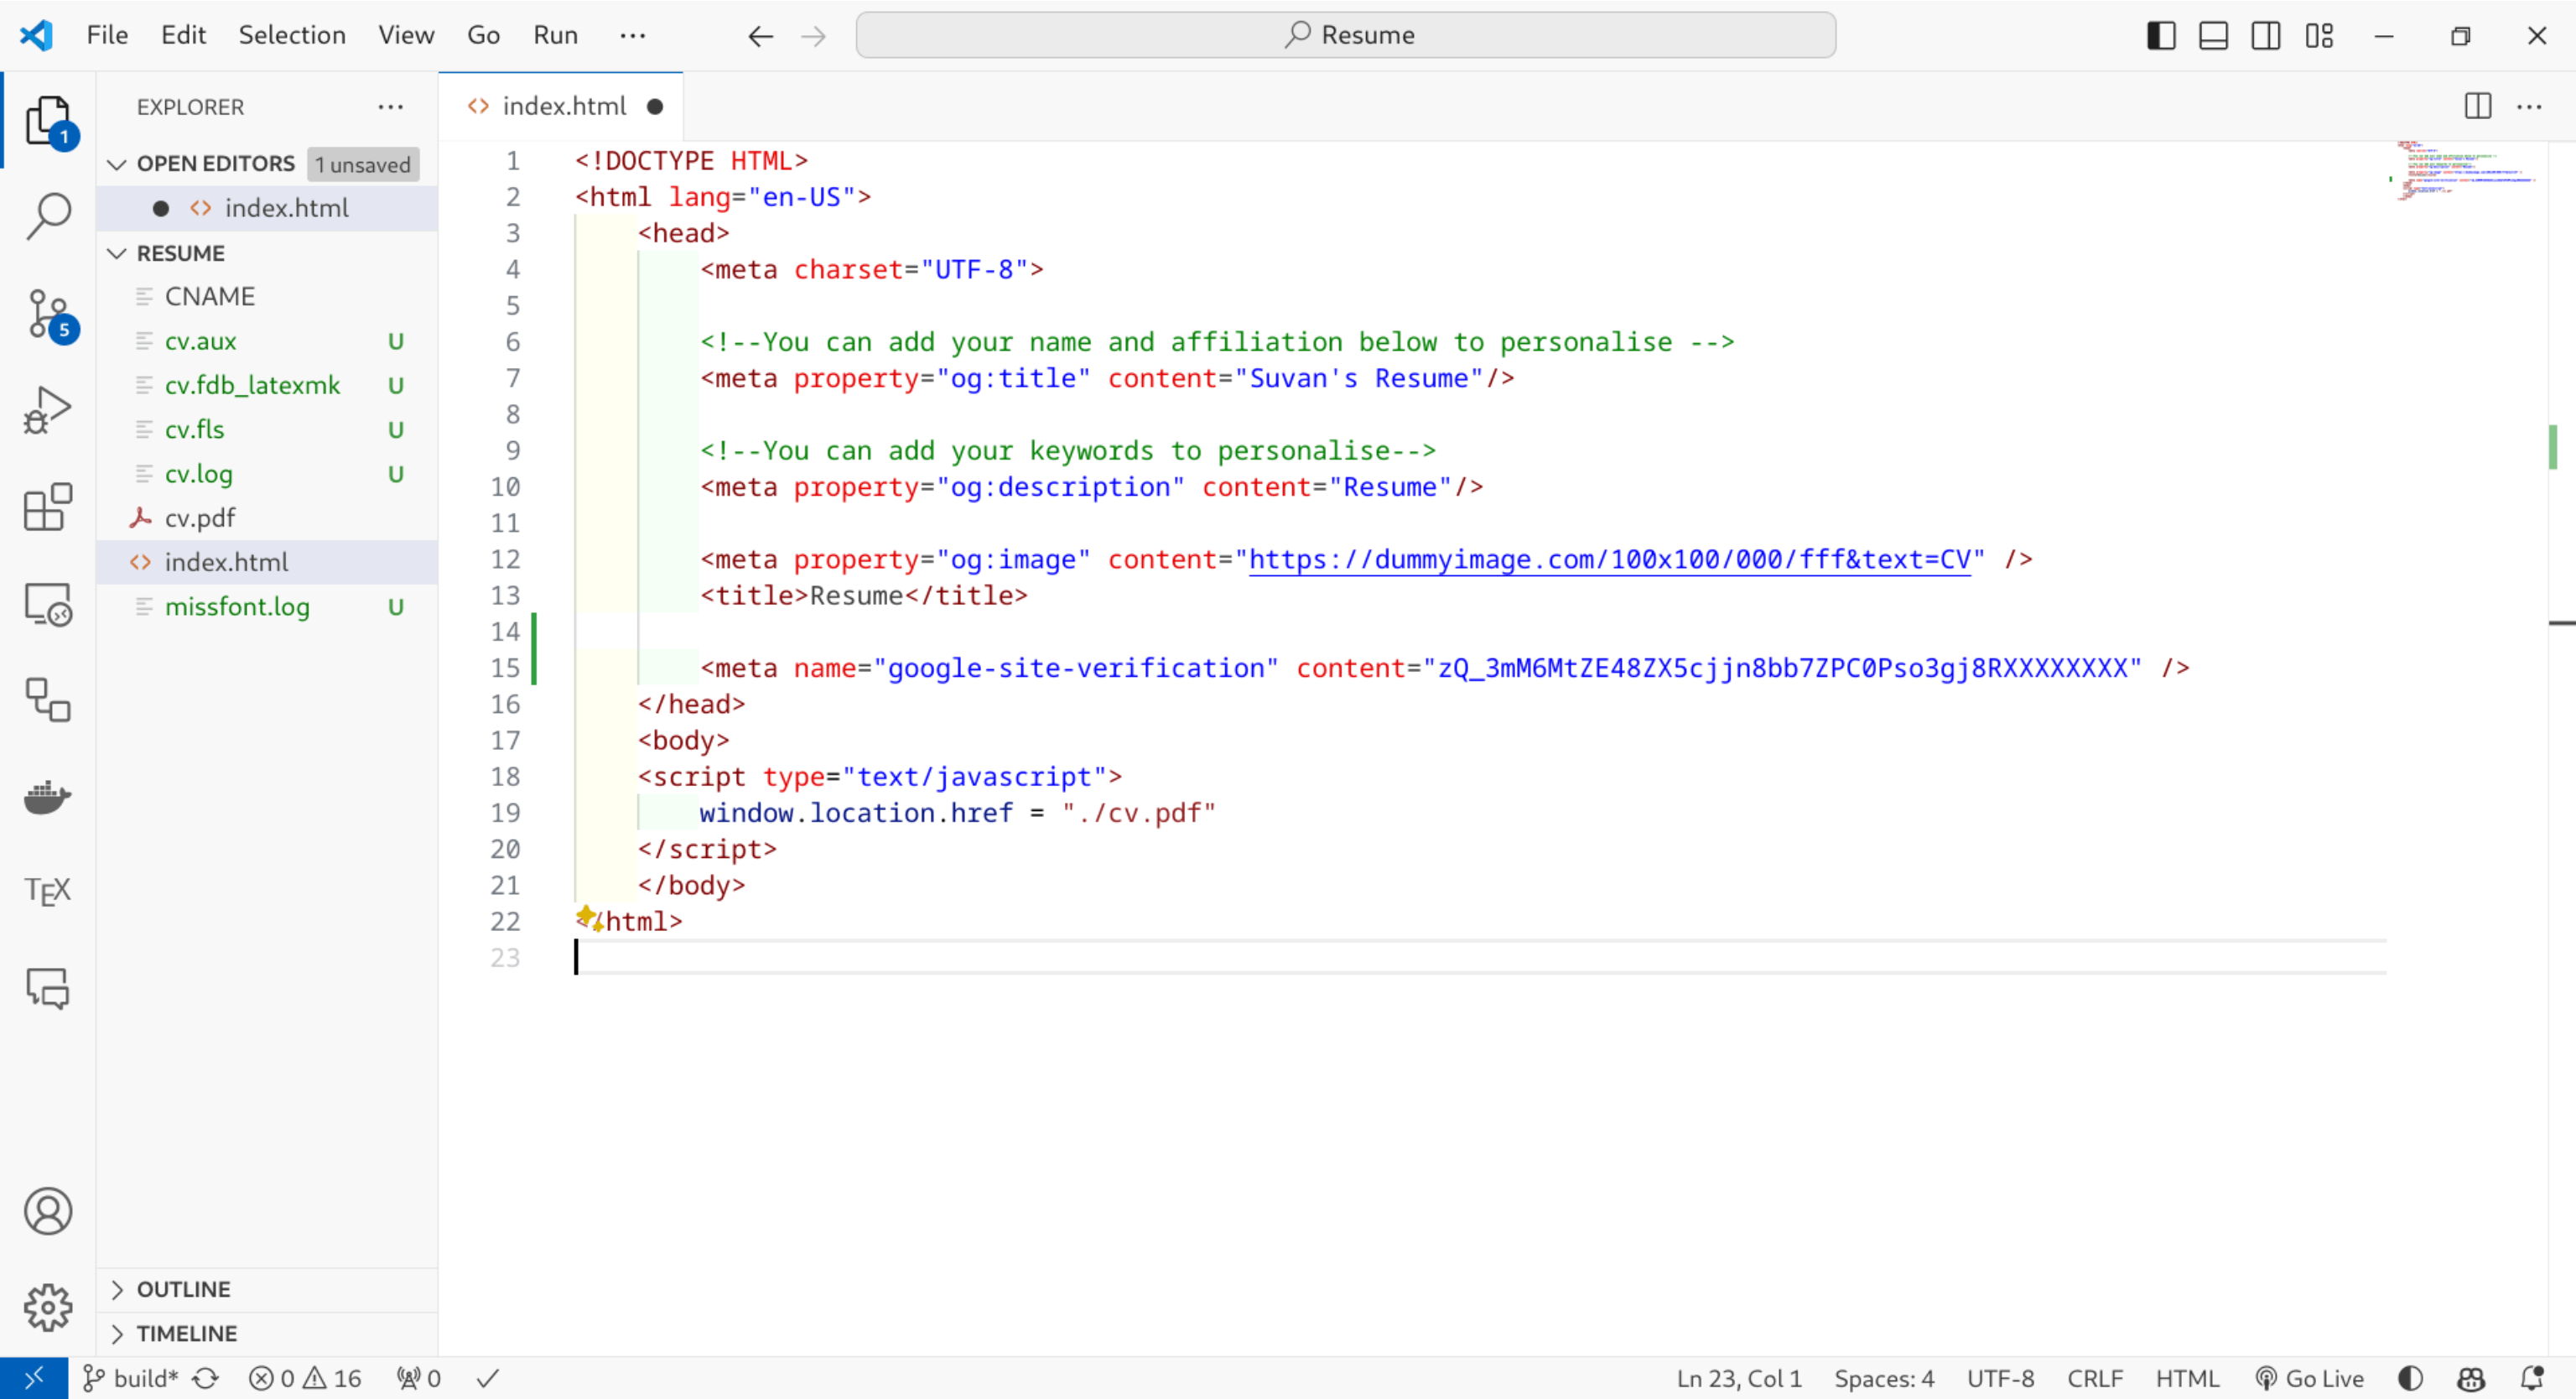
Paste the code and commit then after that click the verify button

After verification on the search bar type https://<your-username>.github.io/<repository-name> and you should get a page like above. Just click the request indexing button and wait.
That's it. You have successfully deployed your resume using Latex and Github Pages. Your resume will be live at https://<your-username>.github.io/<repository-name> and you can also find it in google search results. If you have any queries or suggestions then feel free to comment. I will be happy to help you.